Using Otter.ai
Logging In
- Go to www.otter.ai.
- Click Other ways to log in.
- Enter mediacentereditors@gmail.com and click Sign In.
- Enter the password. To find it, go to the Ann Vault and search for Otter.
Main Screen
Files will appear in the main Home feed. If you are inheriting a story, look through this list to find the audio clips you need.
Uploading Audio
- Click the Upload icon in the upper-right corner of the screen.
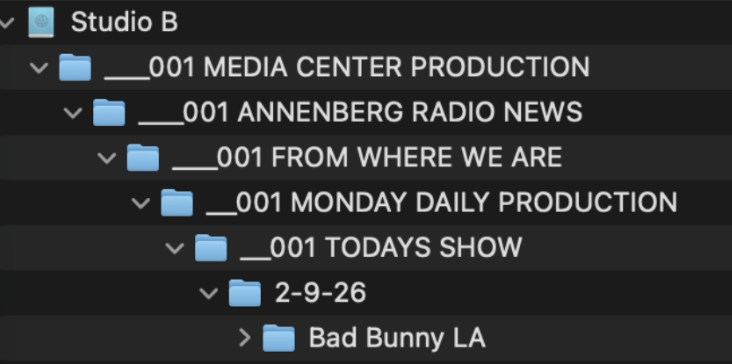
- Find the audio in the appropriate project folder on the Qumulo.
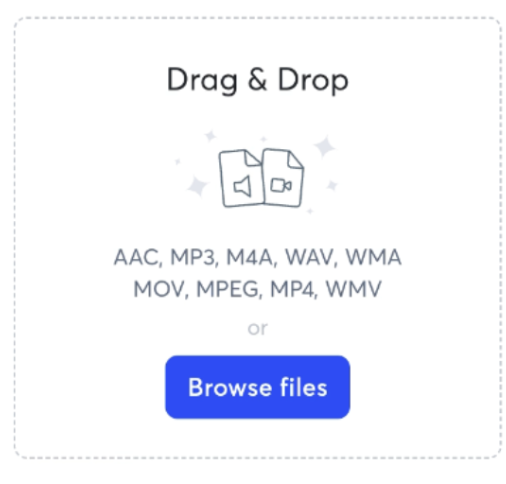
- Drag the file into the Drag and Drop upload window.
Important Note 1: File Upload Location
Only upload files that are properly stored in the correct project folder on the Qumulo.
Editing will be done using the original working files, so it is important for clarity and collaboration that every file can be found in its proper project folder.
Important Note 2: File Naming
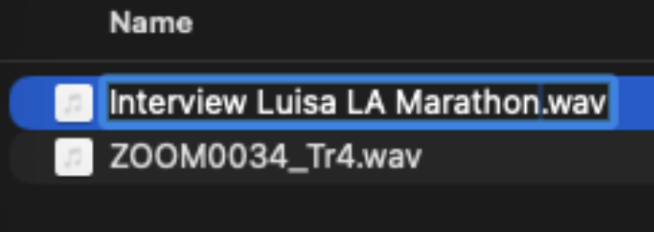
The uploaded file in Otter will initially have the same name as the original file. Audio and video files copied directly from recording devices often have generic or unclear names, such as ZOOM0013.wav.
For clear collaboration and good project organization, rename files before uploading them to Otter.
Names can be changed in Otter afterward, but doing so breaks the naming connection between the file in Otter and the original file on the computer. If you must rename a file in Otter, please also rename the original file in the project folder on the Qumulo.
Transcribing
Once the file is placed in the Drag and Drop window, it will begin uploading. A progress bar will show how long the upload is expected to take. Please do not close the window while the upload is in progress.
After the upload is complete, the upload progress bar will change to a transcription progress bar. Transcription may take longer, but you do not need to remain on this page.
Once transcription is complete, you can either click Go to Transcript or close the window and find the completed transcript in the Home feed.

Working with a Transcript
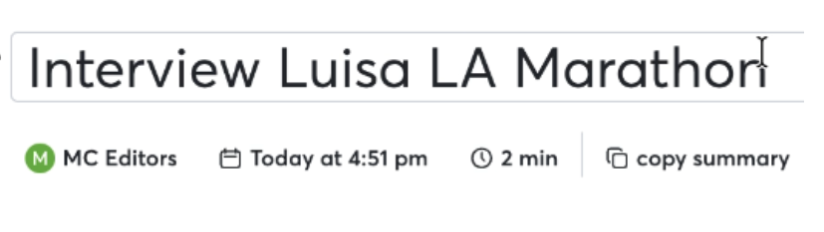
The transcript’s filename and metadata will appear at the top of the page.
The filename can be changed here, but as explained in Important Note 2, you must make the same change to the original file in the project folder on the Qumulo.
The transcript will appear below the filename and metadata.
- The Summary tab provides a breakdown of the transcript’s main highlights.
- The Transcript tab displays the transcript in blocks organized by speaker.
Within the transcript, you can:
- Add comments
- Highlight text
- Insert pictures
- Copy text to paste into your working script
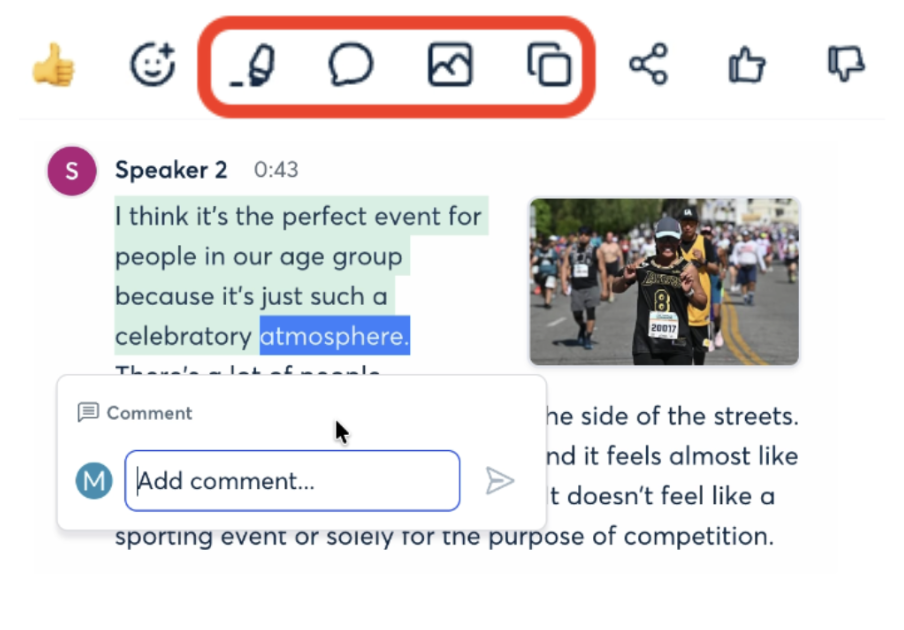
Highlighting Text
To highlight text:
- Select the text you want to highlight.
- Click the Highlighter icon in the floating menu above the selected text.
Adding Photos
To add a photo to your transcript:
- Select a portion of the text.
- Click the Photo icon in the floating menu above the selected text.
Important Note 3: Timestamps
Whenever you copy a quote, record its starting timestamp. This is an incredible timesaver during the editing process.
Out points are also very helpful and should be included whenever possible.
Before every copied transcript quote in the working script, add the following information in brackets:
[filename, start time, duration or end time]
Make sure the filename exactly matches the name of the original file in the project folder on the Qumulo.
Renaming Speakers
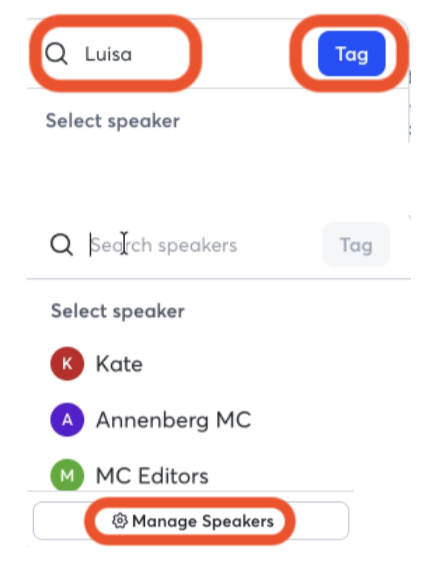
Speakers can be renamed for clarity. To rename a speaker:
- Click the speaker icon.
- In the Search Speakers field, type the speaker’s name.
- Click Tag.
- To modify names click Manage Speakers
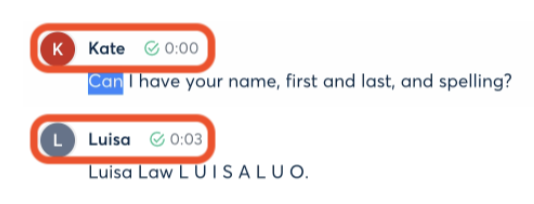
The speaker’s name will then be updated throughout the transcript.