Creating Transcriptions in Premiere Pro
The Text-Based Editing workspace helps quicken the process of creating transcriptions in Premiere Pro. There are two ways to open the Text-Based Editing workspace in Premiere Pro:
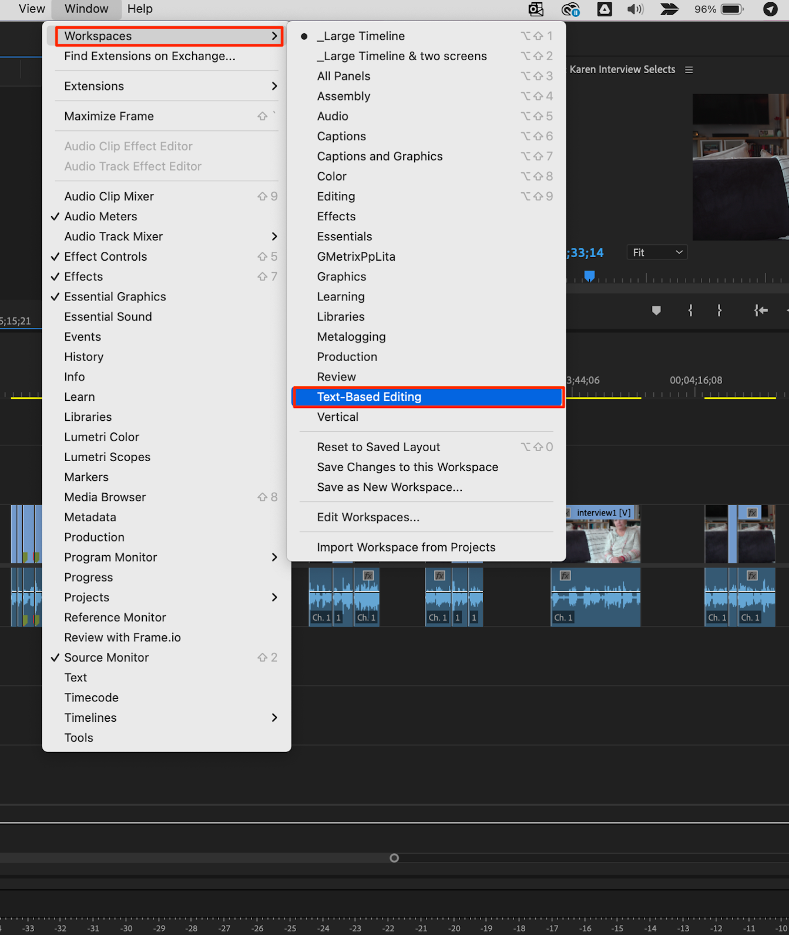
- Click on the workspaces icon in the top-right corner of Premiere Pro, then click Text-Based Editing.
- Click Window in the top menu bar, then hover over Workspaces, and then click Text-Based Editing.
Select an interview clip in the Project panel. Then, go to the Text panel in the Transcript tab. Click Transcribe.
In the Create transcription for source media pop-up window:
- Select the primary language used by the interviewee
- In the Speaker labeling field, select Yes, separate speakers
- In the Channel selection field, select Mixdown. Click the Transcribe button.
Premiere Pro will generate a full transcription of the interview clip.
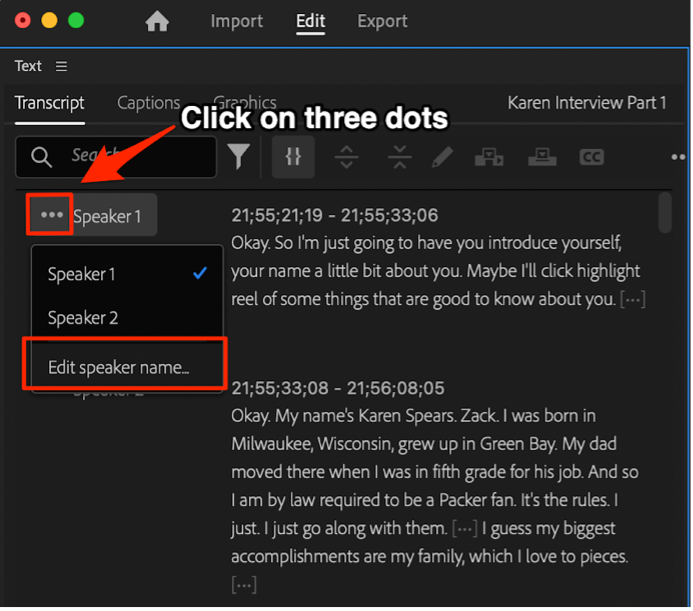
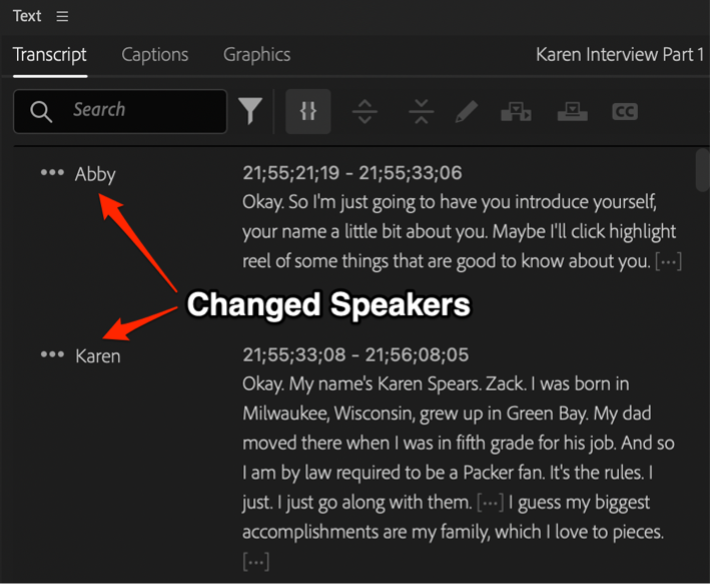
After the transcription is complete, click the three horizontal dots icon next to Speaker 1. Click Edit speaker name. In the Edit Speakers window, change the name of the speakers to the interviewer and the interviewee. Click Save.
Exporting the Transcription
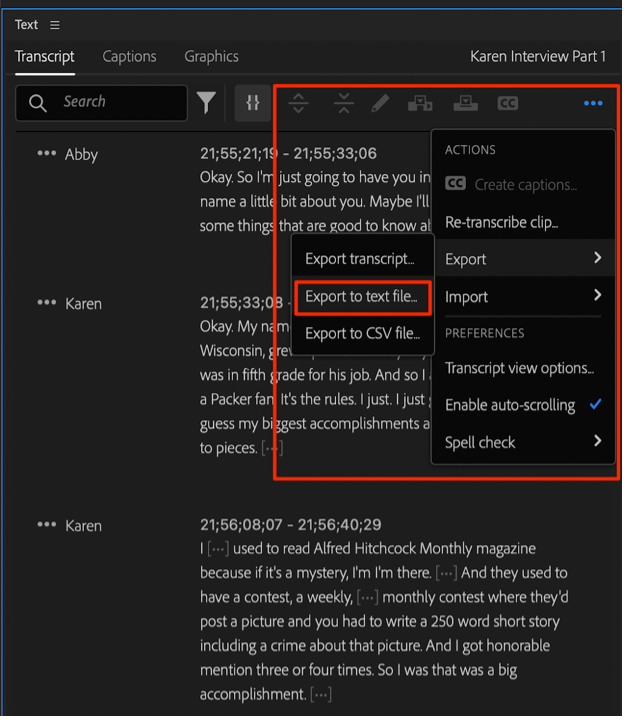
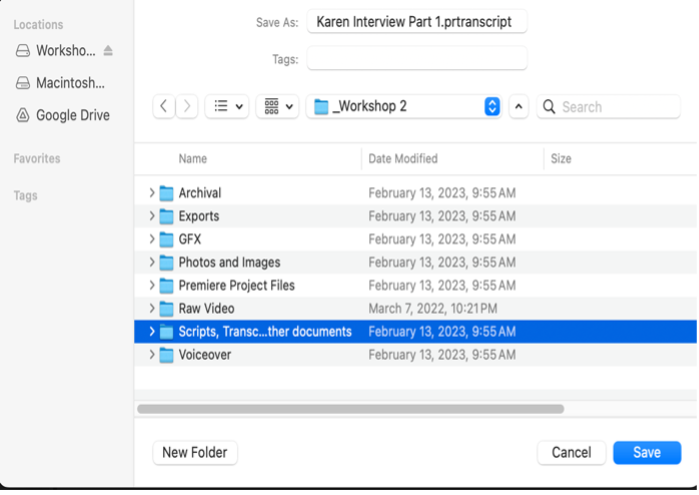
To export the transcription as a text file, click the three horizontal dots icon in the top-right corner of the Text panel. Hover over Export and then click Export a text file. Save the text file on your computer or hard drive.
Copy the transcription to a more user-friendly application like Google Docs, where its easier to highlight and make notes on the transcript.